
Unlocking Baking Success: A Guide to Perfectly Greasing and Flouring Pans
Baking is a delightful fusion of science and creativity. To ensure your sweet creations release effortlessly from the confines of your pans and dishes, you need to master the essential techniques of greasing and flouring. These seemingly simple steps can make a world of difference in the outcome of your baked goods. In this article, we'll delve into the intricacies of greasing and flouring, uncovering the secrets that will take your baking prowess to new heights.
The Importance of Proper Preparation
Before diving into the specific techniques, let's understand why greasing and flouring are essential in baking:
Prevents Sticking
The primary purpose of greasing and flouring is to create a barrier between your batter or dough and the baking surface. This barrier prevents your delectable creations from sticking to the pan or dish, ensuring they come out in one perfect piece.
Promotes Even Baking
Properly prepared pans promote even heat distribution, leading to uniform baking. This ensures that your cakes, muffins, and breads rise evenly, resulting in a consistently delicious outcome.
Enhances Texture
Greasing and flouring can also impart a subtle texture to the outer crust of your baked goods, adding an extra layer of depth to the taste and mouthfeel.
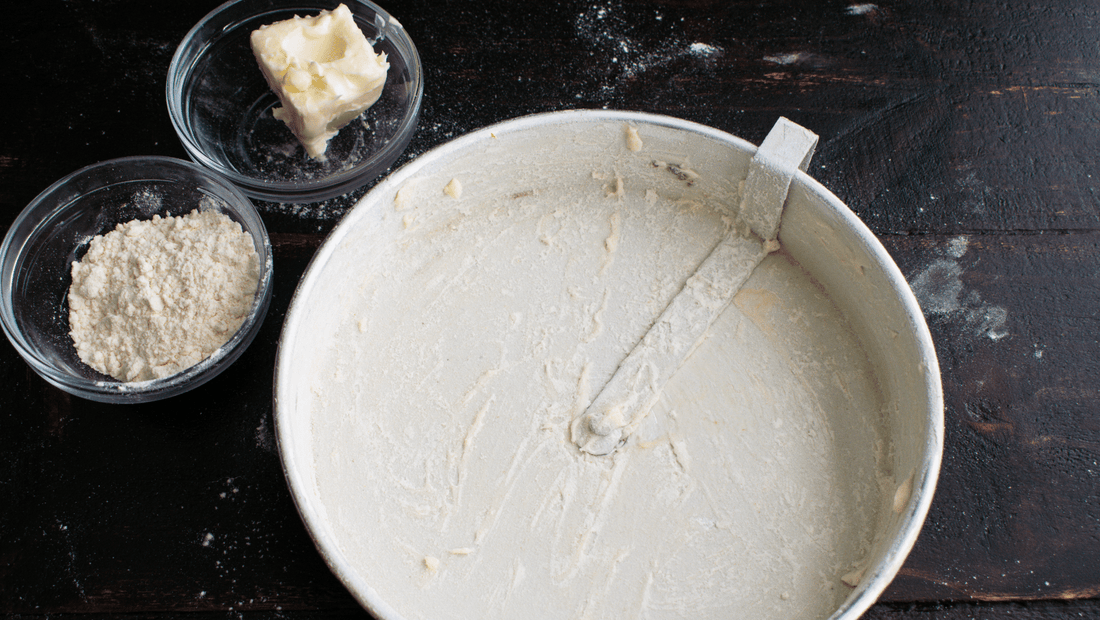
Greasing Techniques
1. Butter or Margarine
One of the most common methods is to use a piece of paper towel or a pastry brush to apply a thin, even layer of softened butter or margarine to the inside of your pan.
Ensure you reach into every nook and cranny to leave no surface ungreased.
2. Oil
For a healthier alternative, you can use a neutral-tasting oil like vegetable or canola oil.
A spray oil is also a convenient option, providing an even and light coating.
3. Shortening
Solid vegetable shortening, such as Crisco, is a classic choice. Use a clean paper towel or your fingers to evenly coat the pan with shortening.
4. Non-stick Cooking Spray
Non-stick cooking sprays are readily available and convenient. However, be cautious as some brands may leave a residue, affecting the appearance of your baked goods.
Flouring Techniques
1. All-Purpose Flour
The traditional method involves dusting the greased pan with a tablespoon or two of all-purpose flour.
Tilt and tap the pan to evenly distribute the flour, then discard any excess by tapping the pan over the sink.
2. Cocoa Powder or Confectioners' Sugar
For chocolate-based or sweet recipes, you can use unsweetened cocoa powder or confectioners' sugar instead of flour.
These alternatives complement the flavor of your baked goods and prevent white streaks on the finished product.
Additional Tips
- Use a parchment paper lining for extra insurance against sticking.
- Grease and flour your pans just before pouring in the batter to avoid excess moisture absorption.
- Invest in high-quality pans with a non-stick surface to reduce the need for excessive greasing and flouring.
By mastering these essential techniques of greasing and flouring, you're setting the stage for baking success. Say goodbye to mishaps and uneven results, and hello to perfectly released, scrumptious treats. With these tricks up your sleeve, you're well on your way to becoming a baking maestro in your own kitchen. So, grease up those pans, dust on some flour, and let the baking magic begin!